
 I’m not quite sure how it happened, but somehow I ended up agreeing to make Taufiq some trousers for our trip to Bangladesh. Do you find that happens to you? You feel foggy on the details, can’t quite remembering if you offered to make something or got asked to… It might have been when I asked him to chuck out his old holiday cropped trousers (which really had seen better days). The conversation probably went a bit like this:
“I think these need to go”
“No way! They’re great!'”
*picks up faded grey camouflage 3/4 length trousers with commando pockets* … I mean, need I say more?
“I’m pretty sure these belong to the 90s, and not in a good way”
“No. I like them, plus they’re my holiday trousers. They’re staying”
*Feeling desperate*
“I’ll make you some new ones!”
“Yeah alright. I do need some new ones.”
Yup…that’s probably how the conversation went.
Some may say I only have myself to blame. So off I went on the search for the perfect pattern and as ever I ended up back at Thread Theory (I know I go on about them, but they really do do my favourite menswear patterns!), and went with the Jedediah pant.
 Pattern Review:
Difficulty: Doesn’t state on the pattern, I’d say an intermediate?
Sizes: 30-40
Type: Available in print and PDF
Price: £13.58 (print) and £8.49 (PDF)
Fabric: I used 2m of 100% cotton brushed cotton twill in damson from Croft Mill. This fabric is lovely and quite easy to work with- the only thing is that the brushed texture does make it slightly corduroy-y with a soft, velvety touch rather than matt feel- like chinos. The Thread Theory patterns don’t vary the fabric required by the sizes so I always end up with too much fabric. YKK zip from John Lewis and jeans button from Guthrie & Ghani
Sizing and fit: Lucky for me, Taufiq is pretty much the sample size for Thread Theory patterns which makes my life much easier. It’s a slim fit trouser with both a full length or 3/4 length finish. I went with the 3/4 length.
Construction and instructions: The PDF pattern is easy to put together (and doesn’t take long as there’s not that many pieces). Normally I almost exclusively use the Thread Theory blog-alongs, which have step-by-step photos of the whole process. The Fairfield shirt blog-along is absolutely fantastic and I had high hopes for this one, but unfortunately I found myself scratching my head a couple of times. I went back to the PDF instructions but just couldn’t get my head around it. It’s probably because I have very little experience sewing trousers!
The main issue I had was with finishing the waistband. Once I cracked it I took some extra photos for you. (This refers to step 40 onwards: sandwiching the waistband and finishing the open corners).
- The waistband is attached, with the waistband-to-trouser seams folded up as shown below.

- Unfold this seam and fold over the waistband (right sides together), lining up the two edges (the bound edge and non-bound edge).

Plaster-> a narrowly missed ‘avocado hand’

Line up the bound and unbound edges - Pin the short edge of the waist band together

- Push/fold (depending on how delicate you are with your sewing!)the zipper/part of the front trouser leg into the folded waistband. The aim is to flatten out the existing seam whilst keeping the trouser leg out of the way.

- This seam is now laying flat (arrow) with the trouser front folded out of the way.

- Bring the waist band edges together, continuing to tuck away the trouser front.

- Now it looks just like the instructions! Stitch along the seams as instructed and repeat for the other side.


Adaptations/hacks: No hacks made to this pattern. If I was to make it again (who am I kidding, when I make it again) I think I’ll change the pocket to a scoop pocket (more like conventional jeans) rather than the slash style.


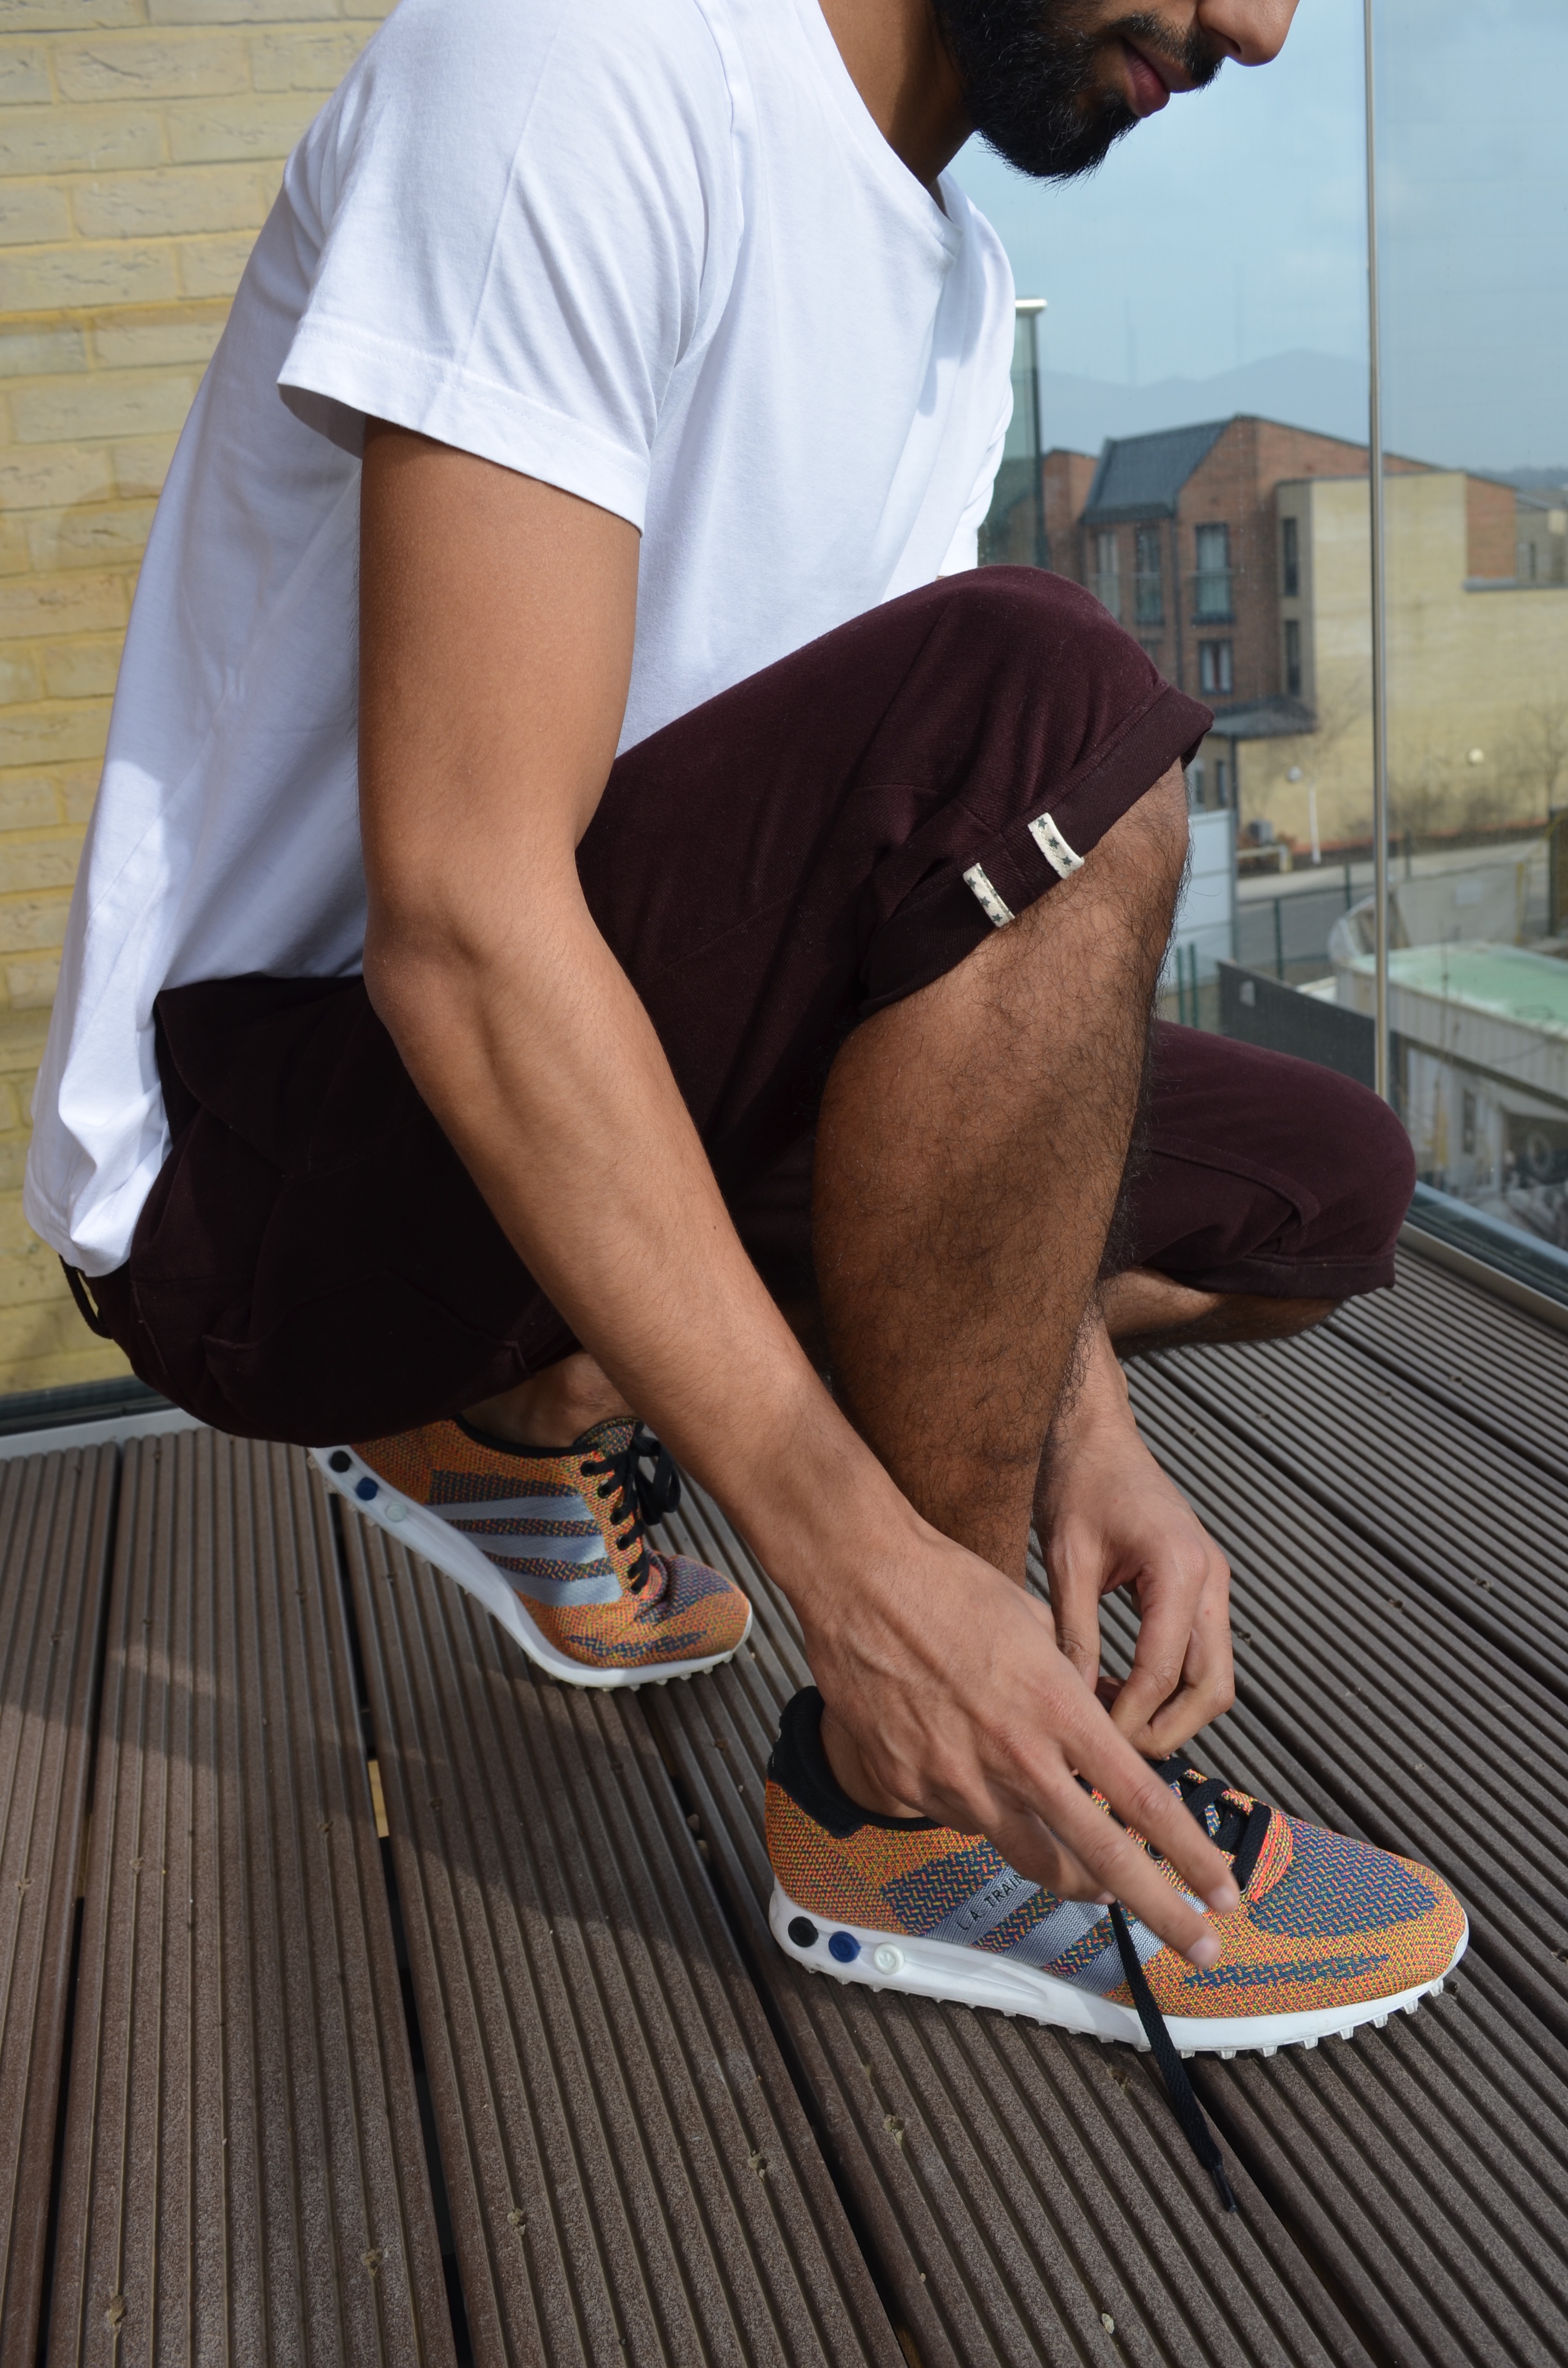
Overall: I guess all you really need to know is what the wearer thought. He loved them- in particular those ‘me-made extras’ like the peek of starry binding when the trouser legs are rolled up or the even sneakier peek of stars as the pocket linings. He loves those special touches which make his clothes unique. I’m sure these will become a staple once the sun comes out.
 The sewing was a relatively simple process with a few difficult bits for me (surprisingly the fly went in pain free!) Now I know what to do I’m sure I could whip these up in no time… not that I’ll be telling Taufiq that any time soon…
love,
Rumana
I’ve been wanting to try making these trousers for my man, but found myself scratching my head at how to measure him! It’s not so obvious where his waist measurement is and he typically wears his trousers on his hips… Lovely pair that you’ve made!
Thanks Maggie! If it helps I measured his waist to be just above the top of the hip bone, where his trousers sit. Think that’s what counts a waist for men!
A lovely make, encouraged to stick together and make up my PDF pattern.
Need a good shorts pattern.
Hope mine fit as well.
Paul
SewingMan4Men
Thanks Paul! I’m sure you’ll do a stellar job! 🙂
I recently made these for my son I had to grade the pattern down a bit but they are a lovely fit on him and very easy to make.